
Camp Hill, AL Electrical Lighting Installation & Upgrades


Flickering bulbs, dark countertops, or a dated flush mount can make cooking feel like a chore. If you are planning kitchen lighting installation or replacement, this guide shows how to get bright, efficient results without headaches. You will learn which fixtures to choose, where to place them, how to avoid code problems, and when to bring in a pro. Ready to love your kitchen again? Let’s start.
Why Update Your Kitchen Lighting Now
Good lighting changes how your kitchen looks and works. New fixtures improve task visibility, highlight finishes, and can trim your energy bills. LEDs run cool, last longer, and reduce bulb changes on tall ceilings. Smart dimmers let you shift from dinner prep to movie night.
Two fast benefits you will notice:
- Safer, clearer prep zones with fewer shadows over sinks and cooktops.
- Lower energy use and fewer bulb replacements compared to older lamps.
Hard facts to back it up:
- ENERGY STAR reports LED lighting uses up to 75% less energy and lasts up to 25 times longer than incandescent bulbs.
- The National Electrical Code requires GFCI protection for receptacles in kitchens and arc‑fault protection on many 120‑volt branch circuits. A compliant update can reduce shock and fire risks.
Plan the Layout Before You Buy Fixtures
A strong plan prevents glare, dim corners, and returns. Start with zones:
- Ambient lighting: fills the room. Think recessed cans or a low‑profile central fixture.
- Task lighting: targets counters, sink, island, and range.
- Accent lighting: adds depth and highlights details like cabinets or artwork.
Measure the room and island. Note ceiling height, soffits, and beams. In Lake Martin lake homes, vaulted or wood ceilings may limit box placement or require surface conduit in utility areas. Map existing switches and circuits. Decide if you want 1‑, 2‑, or 3‑way control from the garage or mudroom entrances.
Pro tips:
- Keep pendant centers 28–34 inches above the island top.
- Space recessed lights about 4–6 feet apart in open areas, adjusted by beam angle.
- Aim for 3000K to 3500K color temperature for a warm, clean kitchen look.
Choosing the Right Fixtures for Each Zone
Not all fixtures are equal. Match the fixture to the job.
- Recessed cans: Best for even ambient light. Choose IC‑rated, airtight housings for insulated ceilings. Select LED modules with 90+ CRI for true colors.
- Pendants: Ideal for islands. Use dimmable, LED‑ready pendants with shades that block glare.
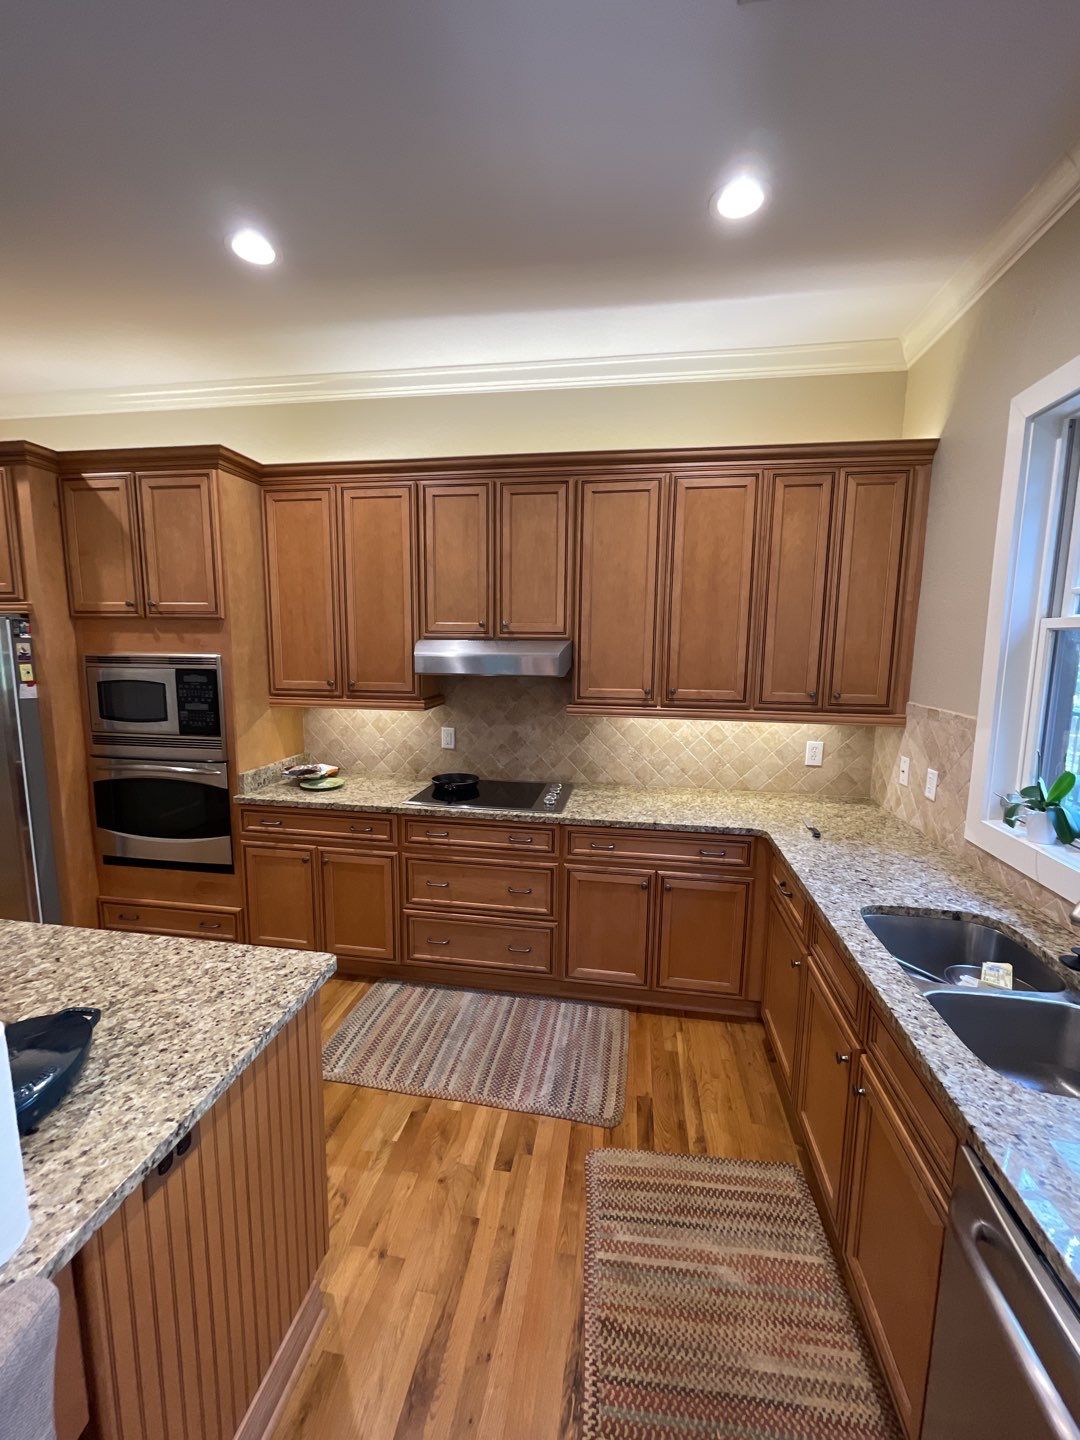
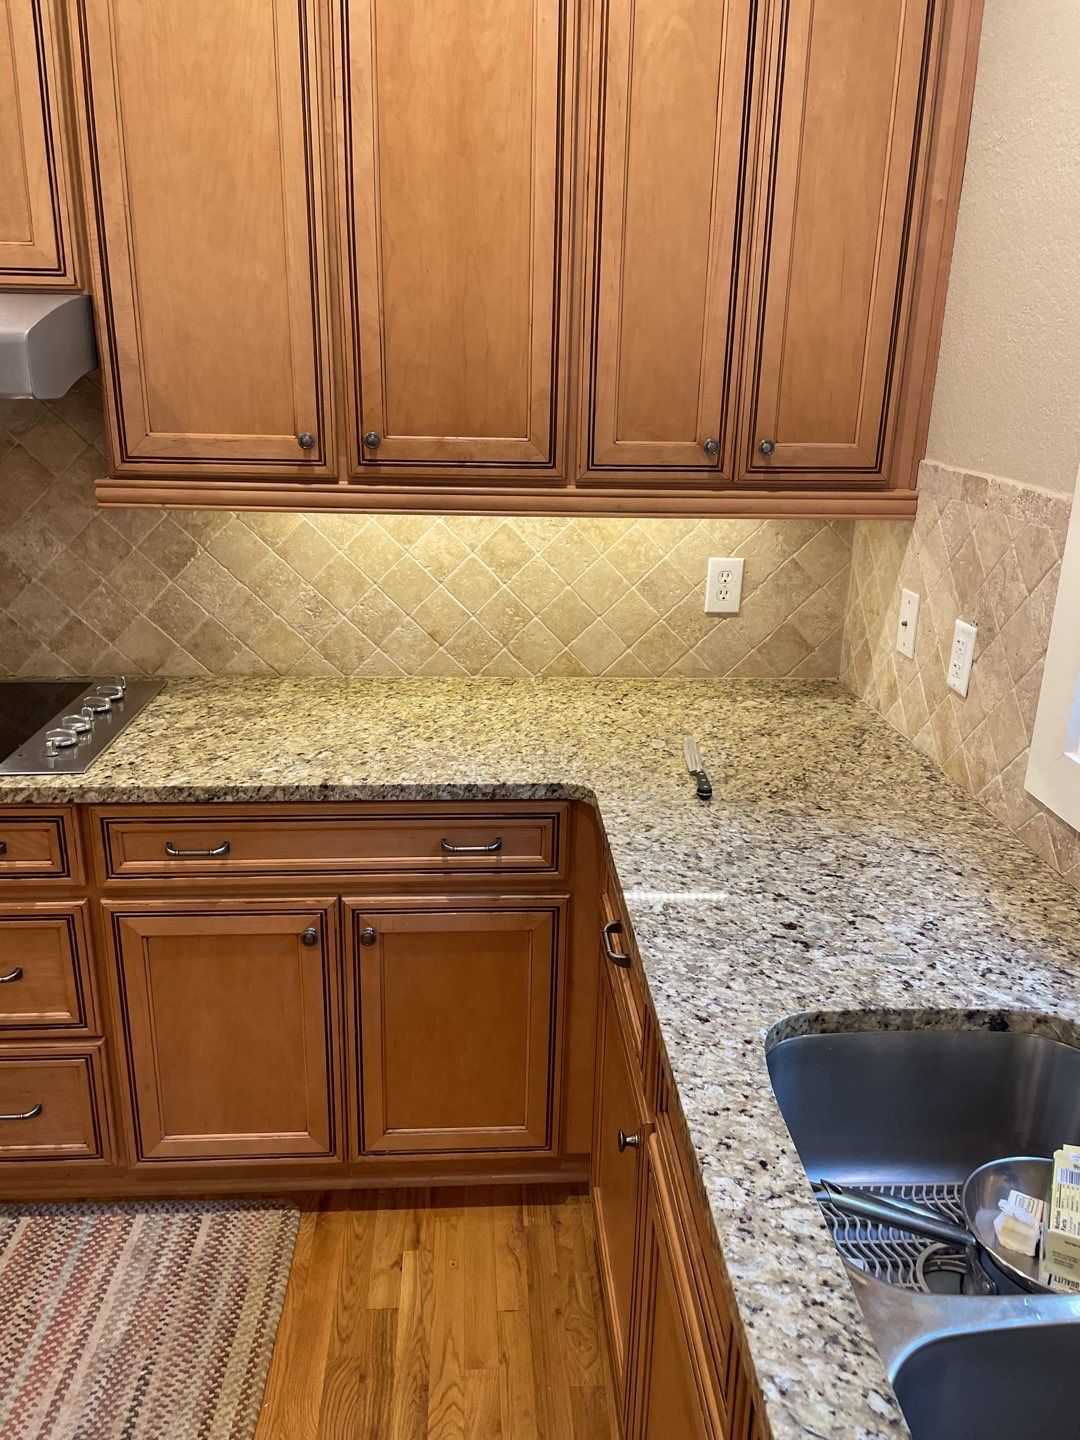
- Under‑cabinet lights: The workhorse for counters. Low‑profile LED bars give smooth light and hide wiring. Select units with a high‑quality diffuser to prevent LED dots.
- Flush or semi‑flush mounts: Great for small kitchens or breakfast nooks.
- Toe‑kick or in‑cabinet strips: Subtle accent and night path lighting.
Material matters outdoors, but it matters in kitchens too. Choose metal finishes that resist fingerprints. If you cook often, favor closed shades that are easy to clean.
Light Levels, Bulbs, and Color That Make Food Look Great
Light quality influences how you see food and surfaces. Look for:
- Lumens: Total brightness. Most kitchens land between 3,000 and 6,000 lumens total, scaled to room size.
- Color temperature: 3000K to 3500K gives warm, neutral light. 4000K can feel crisper on white quartz.
- Color Rendering Index: 90+ CRI helps greens, reds, and wood tones appear natural.
For pendants and recessed modules, pick dimmable LEDs rated for enclosed or damp locations as needed. Verify compatibility with your chosen dimmer to avoid flicker or dropout at low levels.
Wiring, Switching, and Controls You Will Not Regret
Great lighting is useless if it is hard to control. Group circuits by how you use the space:
- Task lights on one dimmer.
- Ambient recessed on a second dimmer.
- Pendants on a third dimmer for mood.
- Undercabinet on a dedicated switch or smart button near the coffee station.
Smart options:
- Smart dimmers that remember scenes like Prep, Eat, and Clean.
- Vacancy sensors for pantry lights so they do not stay on.
Safety upgrades to consider during a refresh:
- AFCI breakers on kitchen lighting circuits, where required by code.
- GFCI protection for nearby receptacles and for undercabinet lights powered from small appliance circuits.
DIY or Hire a Pro? How to Decide
You can swap a like‑for‑like fixture if the box and wiring are compliant and you know how to work safely. Anything more complex deserves a licensed electrician. Choose a pro when you:
- Add new recessed cans or pendants.
- Need new switching or a 3‑way at the back door.
- Find aluminum, brittle, or cloth wiring in older cabins near the lake.
- See no ground wire in the ceiling box.
- Need to patch drywall, add conduit, or fix a tripping breaker.
Pros bring test equipment, code knowledge, and the right materials. That keeps your kitchen safe and inspection‑ready.
Step‑by‑Step: Replacing a Ceiling Fixture Safely
This overview is for awareness. If anything looks questionable, stop and call a pro.
- Turn off the correct breaker. Verify power is off with a non‑contact tester.
- Remove the old fixture and inspect the box. Replace any damaged box or mounting strap.
- Confirm a ground is present. Bond the metal box and fixture per the instructions.
- Connect wires: hot to hot, neutral to neutral, ground to ground with proper connectors.
- Mount the fixture securely and install the recommended LED bulbs.
- Restore power. Test on and off, then test the dimmer range if used.
If the box is loose, undersized, or not rated for fans or heavy pendants, upgrade it. A secure, listed box protects your family.
Recessed Lighting Done Right in Kitchens
Recessed fixtures are common in remodels, but spacing and aim matter. For counters, center trims 12–18 inches from the wall to wash the backsplash and avoid shadows from cabinets. In large rooms, consider wall‑grazing downlights to bring texture to tile.
Use airtight, IC‑rated housings where insulation is present. This keeps conditioned air inside and prevents condensation issues in humid Alabama summers.
Select adjustable gimbal trims over the sink to steer light where you need it.
Under‑Cabinet Lighting That Eliminates Shadows
Bright, even counter light boosts safety when chopping or reading recipes. LED bars provide the most even spread. Hardwired bars mean no visible cords. If you choose plug‑in units, position the outlet high and toward the back of the cabinet.
Look for features that matter:
- 90+ CRI for accurate color.
- Magnetic or quick‑connect linking to avoid dark gaps.
- Built‑in dimming or a dedicated dimmer.
Keep the light source toward the front cabinet rail to light the full counter depth.
Pendants and Island Lighting Without the Glare
Pendants make a design statement, but they also must work for prep and dining. Use two or three pendants spaced evenly across the island. For large islands, add a fourth smaller pendant or a linear fixture.
Choose shades that hide the bulb from seated views. Use dimmable LEDs that hold color at low levels. Keep bottom heights consistent from fixture to fixture.
Energy Efficiency and Operating Cost
LED upgrades reduce energy and heat load. A typical 60‑watt incandescent replacement now draws about 9 watts. Multiply that across ten lamps and long evening hours, and the savings add up.
Enhance savings with:
- Occupancy or vacancy sensors for pantry and hall connections.
- Timers for toe‑kick night lights.
- Smart schedules that align with sunrise and sunset.
C&T Electric regularly replaces legacy fixtures with sleek, energy‑efficient LED units. Homeowners see immediate brightness gains and lower utility bills through every season.
Code, Compliance, and Inspection Readiness
Kitchens have wet, greased, and crowded spaces. That is why inspectors look hard at these areas. A few essentials:
- Use listed, properly supported boxes. Heavy pendants need correct fan‑rated or heavy‑duty boxes.
- Keep wiring in approved raceways or cavities. No open splices behind cabinets.
- Provide GFCI protection for countertop receptacles. Many homes also require AFCI protection at the panel for lighting circuits.
We build to code and document work so your project passes quickly. Tidy boxes, labeled breakers, and neat wiring make future service easier.
Common Problems We Fix During Kitchen Upgrades
- Flicker or buzzing with dimmers due to mismatched lamps and controls.
- Dark corners at the sink or range because of poor recessed spacing.
- Overloaded or shared neutrals that cause nuisance trips.
- Loose or ungrounded ceiling boxes in older homes.
Our team diagnoses these issues, replaces failing parts, and brings the system up to code while keeping your kitchen usable during the project.
Timeline and What to Expect on Install Day
Most like‑for‑like swaps take one to two hours per fixture. Recessed layouts can be one day. Full kitchen refreshes with new circuits may run one to two days, depending on drywall and paint needs.
You can expect:
- On‑time arrival and clear scope review.
- Floor and counter protection.
- Safe power shutoff and testing.
- Clean, code‑compliant installation.
- Walkthrough of controls and cleanup.
In many cases, we can mount customer‑supplied fixtures you have already picked out.
Maintenance That Keeps Light Levels Consistent
LEDs last a long time, but kitchens are tough on gear. Grease, moisture, and heat can reduce life. Wipe lenses during routine cleaning. Check dimmer function twice a year. If a light starts to flicker, call for a quick test before the problem grows.
C&T Electric offers annual and recurring service plans for peace of mind. We inspect connections, test controls, and replace failing components so your kitchen stays bright and safe.
When Your Kitchen Connects to Outdoor Spaces
Many local homes open to a porch, deck, or lakeside grill. We coordinate indoor and outdoor lighting, from weatherproof fixtures at the back door to timer‑controlled path lights. Durable, code‑conscious work with proper conduit and boxes keeps moisture out and reliability high.
This holistic approach means your prep, dining, and entertaining zones all feel cohesive and easy to use.
Budgeting and Getting the Best Value
Pricing depends on fixture count, access, ceiling type, and control choices. You get the best value when you:
- Bundle multiple fixtures in one visit.
- Choose dimmable, high‑quality LED modules to avoid early replacements.
- Standardize color temperature across the space.
- Let us handle both the electrical and any needed patching for a clean finish.
Many homeowners say the added clarity, comfort, and efficiency are worth the investment.
Why Homeowners in Our Area Choose C&T Electric
We install and replace indoor fixtures, recessed lighting, and under‑cabinet systems every week. Our work is known for neat alignments, secure boxes, and clean switching. Outdoor or dock lighting on your property? We can integrate that too.
Expect punctual arrival, options explained in plain language, and work that meets code the first time. That is how we protect your family and your investment.
What Homeowners Are Saying
"They replaced and installed light fixtures. They were very professional and friendly! I would highly recommend. They are a little expensive but they seem to know what they’re doing and they back their work. Sometimes it’s ok to pay extra for peace of mind that it’s done right and to know they’ll come back and fix anything that’s not."
–Jill H., Lighting Installation
"We pinpointed and repaired the faulty connections before upgrading to high-quality bulbs, ensuring the space now enjoys consistent illumination that enhances both functionality and comfort."
–Janet P., Lighting Upgrade
Frequently Asked Questions
How many recessed lights does my kitchen need?
Most kitchens do well with recessed lights spaced 4–6 feet apart, plus task lighting at counters. Aim for 3,000–6,000 total lumens based on room size and finishes.
What color temperature is best for kitchens?
A warm‑neutral 3000K to 3500K looks inviting while keeping food colors accurate. Pair with 90+ CRI bulbs or modules for the most natural appearance.
Can I put kitchen lights on a dimmer?
Yes. Use dimmable LED lamps or modules and a compatible LED dimmer. This avoids flicker and extends lamp life. Group ambient, task, and pendant lights on separate controls.
Do I need an electrician to add pendants or under‑cabinet lights?
If new wiring, boxes, or switches are required, hire a licensed electrician. They will ensure proper support, grounding, and code compliance, which protects your home.
Are LEDs worth the upgrade?
Yes. LEDs can use up to 75% less energy and last much longer than incandescent bulbs. You get bright, cool operation with fewer bulb changes and lower utility costs.
Conclusion
Updating kitchen lighting with new fixtures adds safety, comfort, and style. Plan zones, select quality LEDs, and use smart dimming for daily life. For kitchen lighting installation in Alexander City, Dadeville, Sylacauga, and nearby, we are ready to help.
Call to Action
Call C&T Electric at (256) 234-0007 or schedule at https://www.candtelectricllc.com/. Tell us your goals, send a few photos, and get a clear plan and price. Let’s brighten your kitchen the right way, starting today.
Call now: (256) 234-0007 • Book online: https://www.candtelectricllc.com/ • Fast, code‑compliant kitchen lighting upgrades with high‑efficiency LEDs.
About C&T Electric LLC
C&T Electric is a local, full‑service electrical contractor serving Alexander City, Sylacauga, Dadeville, and nearby Lake Martin communities. Homeowners choose us for code‑conscious work, tidy installations, and 24/7 responsiveness. Our team is highly trained, licensed, and known for clear communication. We are a licensed Generac dealer and stand behind every job. Expect safe workmanship, quality materials, and friendly service you can trust.
Sources8
Source links open in a new tab.
- Happy comment by Lori McCollumgoogle.com (opens in a new tab)
- Happy comment by James Baileygoogle.com (opens in a new tab)
- Happy comment by Ginger Sterngoogle.com (opens in a new tab)
- Happy comment by Robert Reedgoogle.com (opens in a new tab)
- Recent Projectscandtelectricllc.com (opens in a new tab)
- Our Services | C&T Electriccandtelectricllc.com (opens in a new tab)
- C&T Electriccandtelectricllc.com (opens in a new tab)
- CT Electric Homecandtelectricllc.com (opens in a new tab)