
Alexander City Electrical Lighting Installation & Upgrades


Planning to learn how to install recessed lighting in an existing ceiling without making a mess or tripping a breaker? You are in the right place. This guide shows you the cleanest layout, safe wiring paths, and code‑aware tips for a professional finish. We also share when a local electrician can save you time and patch work, especially in older Alexander City homes and Lake Martin lake houses.
Before You Start: Safety First and What the Code Expects
Recessed lights look simple, but you still work with live circuits and hidden spaces. Kill power at the breaker and verify with a contactless tester. Wear eye protection and a mask. Fiberglass and drywall dust are no joke.
Important code points you should know:
- Use IC‑rated cans when the fixture contacts insulation. See NEC 410.116 for recessed luminaires in insulated ceilings.
- Junction boxes must remain accessible, not buried above drywall. See NEC 314.29.
- AFCI protection is required for lighting outlets in many living areas. See NEC 210.12. Check your panel or use a listed AFCI breaker.
- Always use listed connectors and secure cable with proper staples. Follow manufacturer torque specs on wire connectors.
If any of this sounds unfamiliar, do not guess. A quick service call often costs less than repairing a hidden wiring error.
Media tip: Watch our 3‑minute safety walkthrough at https://www.candtelectricllc.com/.
Tools and Materials for a Clean Install
You can complete most remodel installs with basic tools. Gather everything before you cut.
-
Tools
- Stud finder with AC scan
- Drywall saw or hole saw with a dust shroud
- 6‑foot fish tape or glow rods
- Compact right‑angle drill and spade bits
- Non‑contact voltage tester and multimeter
-
Materials
- IC‑rated, airtight remodel cans or slim LED wafer lights
- 14/2 or 12/2 NM‑B cable to match circuit amperage
- Old‑work switch box and dimmer rated for LED loads
- Wire connectors, cable staples, and fire‑rated caulk where required
- Suitable LED trims, 2700–4000K depending on room
Choose quality components. Airtight housings reduce drafts and help comfort. LEDs that are ENERGY STAR rated run cooler and last longer.
Media tip: See our preferred recessed package list at https://www.candtelectricllc.com/.
Plan the Layout: Spacing That Looks Built‑In
Good spacing hides sins. Poor spacing shows every flaw. Use these rules of thumb:
- Distance from wall: 18 to 30 inches, depending on ceiling height and what you want to light. Closer to highlight cabinets or art.
- Between fixtures: About half the ceiling height. For an 8‑foot ceiling, aim for 4 feet between centers.
- Avoid cans over ceiling joists and HVAC boots. Confirm with a deep scan on your stud finder.
- Keep symmetry. Center lines off existing features like a sink, island, or fireplace.
Sketch the room with rough dimensions. Mark each can with painter’s tape on the ceiling. Stand back at night and test with a bright flashlight aimed upward to preview beam spread.
Choose the Right Recessed Fixtures and LEDs
Remodel cans and slim LED wafers both work in finished ceilings. Here is how to choose.
-
Slim LED wafers
- Fit tight spaces under 2 inches
- Often include remote junction boxes
- Fast in drywall and shiplap
-
Remodel cans
- Traditional look with changeable trims
- Heavier, but firm with adjustable clips
Key specifications:
- IC rating if touching insulation
- Airtight rating for energy savings
- Color selectable 2700K to 4000K for flexible mood
- CRI 90+ for accurate colors in kitchens and baths
Hard fact: ENERGY STAR notes quality LEDs use up to 75 percent less energy and last 25 times longer than incandescents. That is a real bill saver.
Find Power: Where to Tie In Legally and Neatly
You have three common sources.
- Existing switched light circuit. Replace the fixture with recessed lights on the same switch.
- Existing unswitched power at a ceiling box. Extend to a new switch leg.
- New circuit from the panel for large kitchen or shop upgrades. This avoids overloading.
Never overload a circuit. Add up wattage or fixture VA and compare to breaker capacity. Use 80 percent as a comfortable continuous load guideline. If you are unsure, an electrician can map circuits and label your panel. We do this during lighting upgrades in Alexander City homes all the time.
Media tip: See our circuit mapping explainer at https://www.candtelectricllc.com/.
Cut With Confidence: Clean Holes and Less Dust
Measure twice, then use the supplied template. Score the circle with a utility knife to reduce paper tear out. Use a hole saw with a dust shroud when possible. As you open the first hole, peek inside with a flashlight. Confirm there is no duct, gas line, or wiring in the way.
If you hit a joist, shift by one or two inches and recenter your run so the pattern still looks right. Keep all hole edges smooth so the gasket can seal.
Run Cable Like a Pro in Finished Ceilings
Fishing cable is the part most homeowners fear. Take it step by step.
- Map the path from the power source to the switch, then to each can.
- Use glow rods or fish tape to move bay to bay. Tape cable ends securely and taper the wrap.
- Drill through top plates from the attic when possible. Keep holes 1.25 inches from stud edges or use nail plates.
- Staple NM‑B within 12 inches of metal boxes and within 8 inches of plastic boxes.
In older lake houses near Lake Martin, we often find knob‑and‑tube or brittle cloth cable. Stop if you see this and call a pro. There are safe, code‑compliant ways to upgrade without tearing out half the ceiling.
Media tip: Watch our fishing cable tips video at https://www.candtelectricllc.com/.
Install Remodel Cans or Slim Wafers
With the holes cut and cable fished, installation is straightforward.
- Open the listed junction box. Strip conductors 1/2 inch.
- Connect grounds first, then neutrals, then hots with listed connectors.
- Tuck wires neatly to avoid pinch points. Close the box cover fully.
- For remodel cans, insert the housing and engage the retaining clips. Tighten evenly.
- For slim wafers, mount the junction box through the hole and attach the wafer with spring clips.
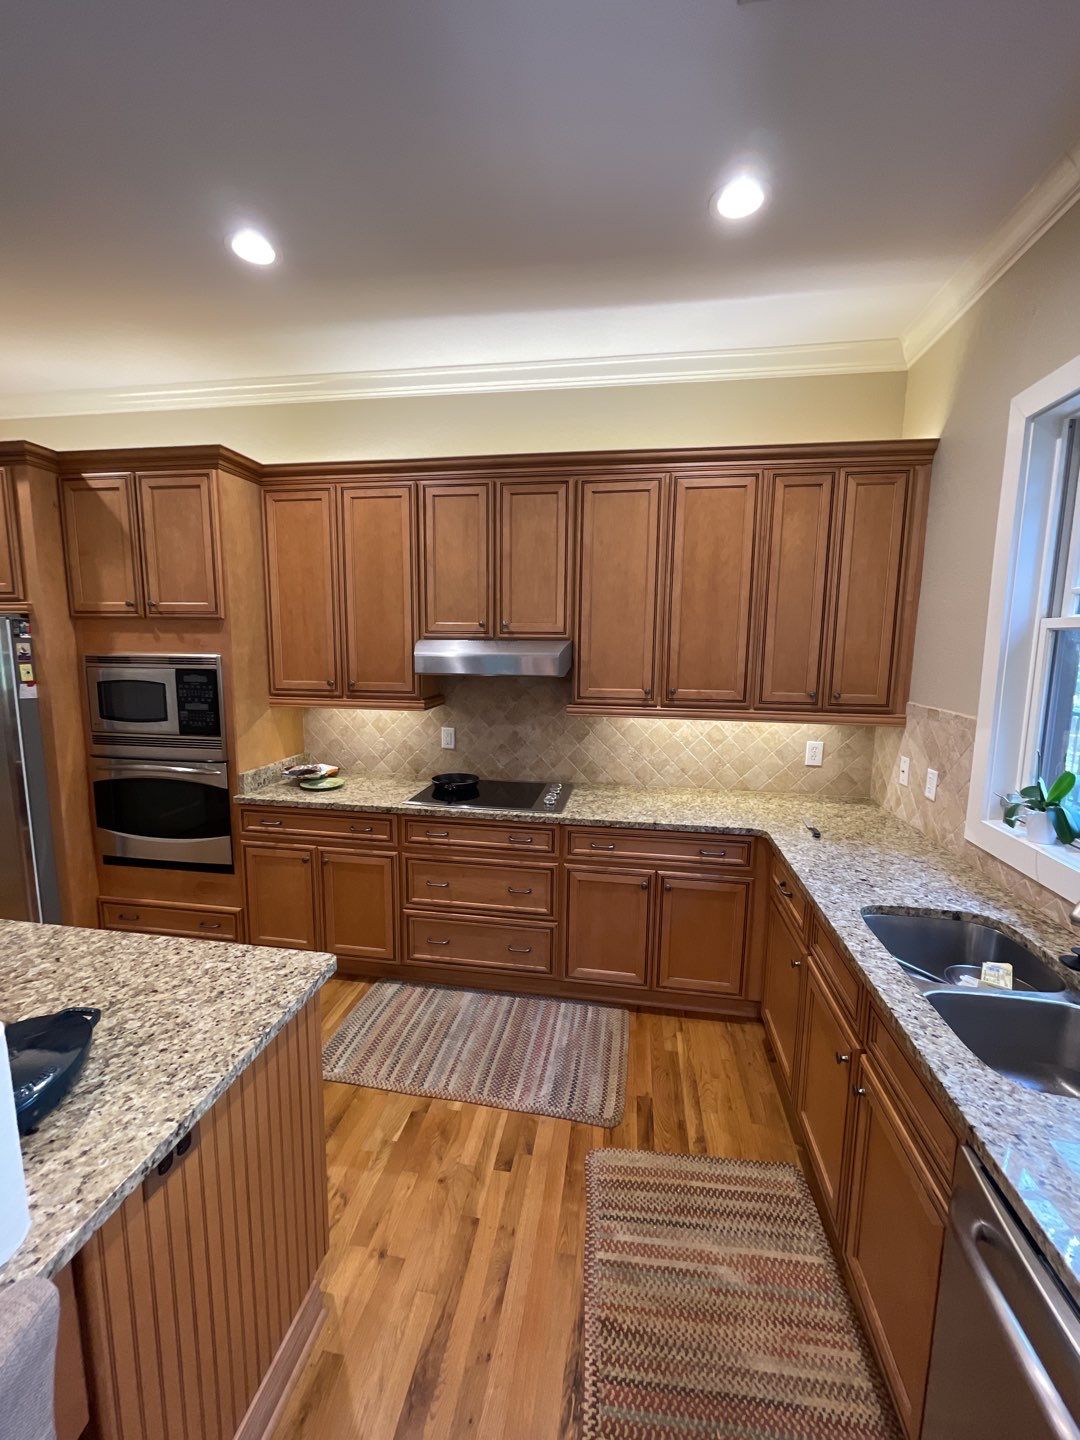
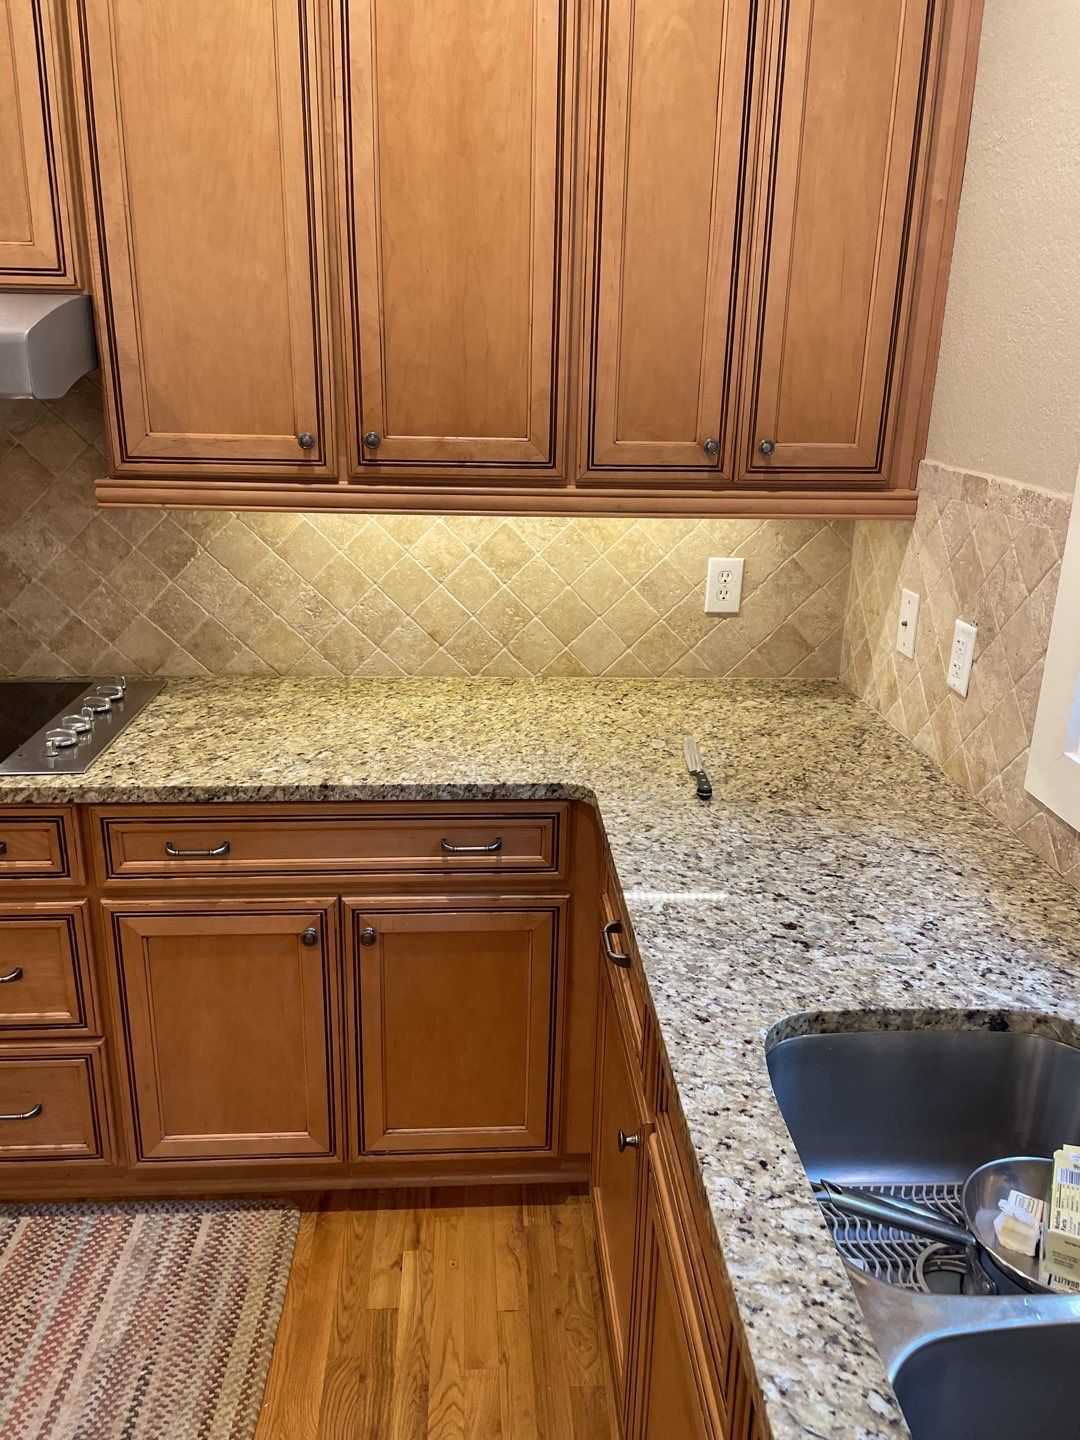
Aim directional trims toward task areas. In a kitchen, set a soft angle toward the counter front edge for fewer shadows.
Set the Switch and Dimmer for LEDs
Not all dimmers play nice with LEDs. Choose a dimmer rated for your exact LED type. This avoids flicker and early failure.
- Use a listed old‑work box at a comfortable 48 inches above finished floor.
- Pigtail grounds and use a short bonding jumper to the metal box if used.
- Label the breaker, and if you used a smart dimmer, follow pairing instructions to avoid Wi‑Fi drops.
If you have multiple zones, consider a master dimmer and companion controls for consistent dimming across rooms. This is common in open kitchen and living spaces in Willow Point homes.
Air Sealing, Insulation, and Fire Safety
Air leaks around fixtures cause drafts and dust rings. Seal small gaps with an approved sealant. Do not bury non‑IC fixtures. Keep required clearances to insulation per the can’s label.
Use airtight housings where possible. They help HVAC efficiency and keep attic air from seeping into the room. Confirm that any attic splices sit in an accessible, covered junction box.
If your ceiling is part of a garage separation, maintain fire blocking and any required Type X drywall patches. Follow local amendments rigorously.
Test and Troubleshoot Before You Patch
Turn the breaker on and test each switch position. If a light does not start, run this checklist.
- Verify power at the switch line and neutral continuity
- Confirm dimmer compatibility and minimum load met
- Check for a loose neutral in the first can’s junction box
- Inspect for tripped AFCI
Once everything works, snap in trims, clean the workspace, and note the circuit on your panel directory. A tidy label saves you time later.
Media tip: Get our recessed lighting punch list at https://www.candtelectricllc.com/.
Common Mistakes We See in the Field
Avoid the headaches we repair most often.
- Wrong spacing that creates scallops on walls
- Non‑IC cans buried under blown insulation
- Mixing 12‑gauge and 14‑gauge on the same 15A circuit
- Overstuffed junction boxes beyond volume rating
- Dimmers not listed for the LED driver
Correcting these after paint costs more than planning right. When in doubt, schedule a quick consult and layout check.
When to DIY and When to Call a Pro
DIY makes sense when you have clear attic access, modern wiring, and a simple room. Call a pro when any of these apply:
- You see aluminum, cloth, or knob‑and‑tube conductors
- You need new circuits pulled from a crowded panel
- Rooms have complex HVAC, low attic clearance, or moisture exposure
- You are upgrading kitchen lighting with multiple zones and scenes
Our team handles attic fishing, patch‑free layout changes, and AFCI upgrades daily. We also coordinate with painters and cabinet installers to finish cleanly.
Local Insight: Lake Houses, Workshops, and Outdoor Areas
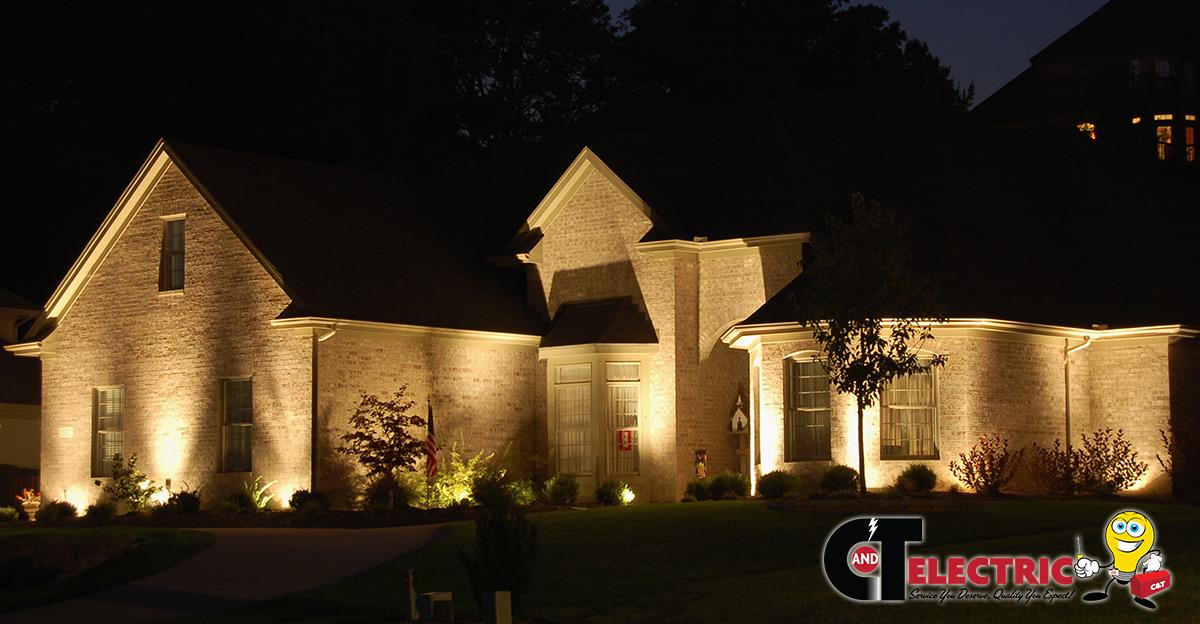
Homes around Lake Martin often need balanced light for wood ceilings and wide window walls. We use warmer, higher CRI LEDs to flatter natural pine and reduce glare on the water. In workshops and garages, choose bright, neutral 4000K with high output for safer tool work.
For docks and porches, use wet‑rated fixtures and weatherproof boxes. Protect wiring in neat conduit runs that stand up to storms. We often add timers or smart controls so lights welcome you home without wasting energy.
Budgeting and Timeline
A typical four‑pack of quality slim wafers, dimmer, cable, and supplies runs a few hundred dollars. Expect half a day to a full day for a clean DIY job. Professional installs scale by room size, attic access, and switch complexity.
We provide fixed, written estimates after a quick site walk. If you supply fixtures, we will mount them to spec and back the workmanship. That flexibility keeps projects moving when you already purchased trims or pendants.
Maintenance for Long‑Term Performance
LEDs are low maintenance, but not zero. Keep these habits:
- Dust trims gently during regular cleaning
- Avoid high heat by keeping attic insulation in the right place
- Replace dimmers if you change LED models that require different drivers
- Schedule an annual electrical check if your home is older or you added big loads
Our recurring service visits include testing outdoor timers, checking GFCI and AFCI trips, and inspecting any attic wiring added during remodels. This prevents nuisance trips and small annoyances from becoming big calls.
What Homeowners Are Saying
"They replaced and installed light fixtures. They were very professional and friendly! I would highly recommend. They are a little expensive but they seem to know what they’re doing and they back their work. Sometimes it’s ok to pay extra for peace of mind that it’s done right and to know they’ll come back and fix anything that’s not."
–Jill H., Lighting Installation
"We pinpointed and repaired the faulty connections before upgrading to high-quality bulbs, ensuring the space now enjoys consistent illumination that enhances both functionality and comfort."
–Janet P., Lighting Upgrade
Frequently Asked Questions
How many recessed lights do I need in an 8‑foot ceiling?
Plan roughly half the ceiling height between fixtures. For 8 feet, space about 4 feet apart and 18 to 30 inches from walls.
Can I cover recessed lights with insulation?
Only if the fixture is IC‑rated. Keep clearances shown on the label. Non‑IC cans must not contact insulation.
Do I need a permit to add recessed lighting?
Many cities require a permit for new wiring. Check local rules in Tallapoosa County or call us for guidance.
Which dimmer works best with LED recessed lights?
Use a dimmer listed for your specific LED model. Check the manufacturer’s compatibility sheet to prevent flicker.
Can I tie into any nearby light circuit?
Only if the circuit has capacity and the junction box remains accessible. Do not bury splices behind drywall.
Wrap Up
Now you know how to install recessed lighting in an existing ceiling with safe wiring, clean spacing, and smart dimming. If your project involves old wiring, tight attics, or multiple zones, bring in a pro. C&T Electric LLC serves the Lake Martin and Alexander City area with code‑compliant installs that look like they came with the house.
Ready for Bright, Even Light?
Call C&T Electric LLC at (256) 234-0007 or schedule at https://www.candtelectricllc.com/ for fast, clean recessed lighting installation in the Lake Martin area. We can mount your customer‑supplied fixtures, handle AFCI and panel updates, and design a layout that flatters your space. Get a clear, written estimate today.
About C&T Electric LLC C&T Electric LLC is a local team serving the Lake Martin and Alexander City area. We install and upgrade lighting, from recessed cans to dock and landscape systems. Homeowners choose us for safety‑first workmanship, tidy conduit runs, and code‑compliant installs. We are a licensed Generac dealer and provide 24/7 availability for emergencies. Our technicians are highly trained, explain options, and back the work. Expect clear pricing, dependable scheduling, and five‑star service.
Sources8
Source links open in a new tab.
- Happy comment by Lori McCollumgoogle.com (opens in a new tab)
- Happy comment by James Baileygoogle.com (opens in a new tab)
- Happy comment by Ginger Sterngoogle.com (opens in a new tab)
- Happy comment by Robert Reedgoogle.com (opens in a new tab)
- Recent Projectscandtelectricllc.com (opens in a new tab)
- Our Services | C&T Electriccandtelectricllc.com (opens in a new tab)
- C&T Electriccandtelectricllc.com (opens in a new tab)
- CT Electric Homecandtelectricllc.com (opens in a new tab)